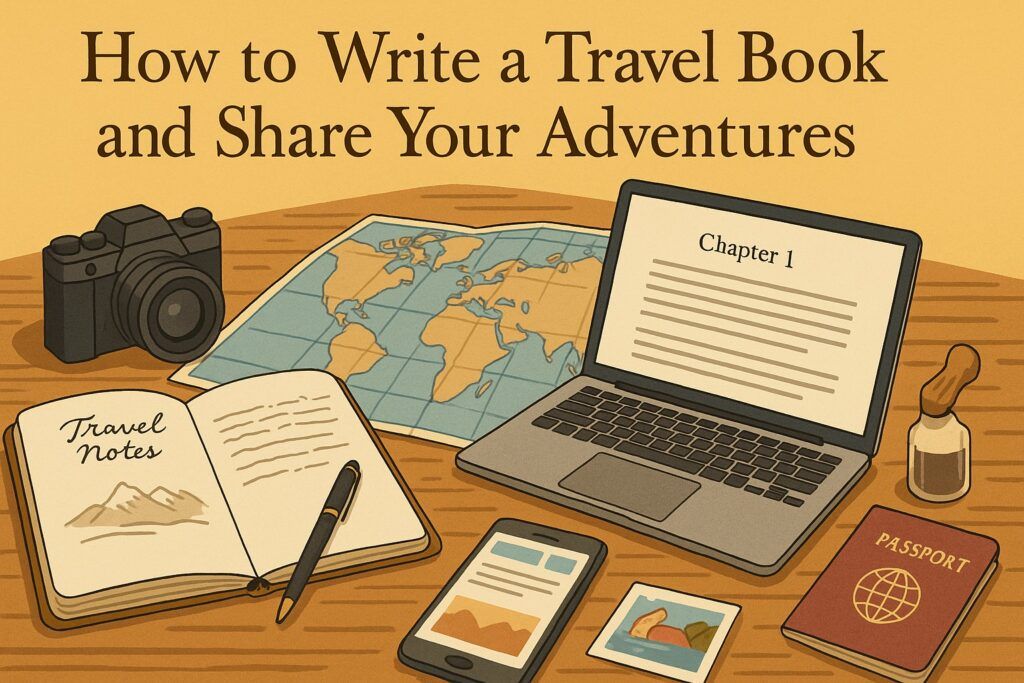
Learn How To Write A Travel Book And Share Your Adventures Today!
TL; DR
You can write a strong travel book by choosing a clear theme, focusing on specific journeys, and telling your stories through vivid scenes instead of general summaries. Give readers a sense of place, people, and emotion while also sharing practical details that help them travel smarter. Structure the book around routes, regions, or life phases, then revise for clarity, pace, and honesty. Share your adventures through blogs, social media, talks, or book launches so readers feel like they are traveling with you.
FAQs
1. What is the first step in writing a travel book?
Decide what your travel book is really about. Choose a theme such as food, history, faith, solo travel, backpacking, or one long journey, and define the type of reader you are writing for.
2. How do I turn my trips into a clear story, not just a diary?
Pick key journeys and moments that changed you, then build chapters around those. Use scenes with a beginning, middle, and end rather than listing every day of the trip.
3. How much description should I include about places?
Use enough detail so readers can see, hear, and feel the place, but do not overload them. Mix short sensory details with action and dialogue so the story keeps moving.
4. Should my travel book be more story or more guidebook?
You can choose one or mix both. Many readers enjoy a narrative travel memoir with brief side notes, tips, and small guides at the end of chapters for practical advice.
5. How do I handle writing about other cultures respectfully?
Observe carefully, avoid stereotypes, and show people as individuals, not symbols. Admit what you do not understand and be fair when describing both positive and negative experiences.
6. Do I need to take notes while traveling to write a good book later?
Yes. Keep a simple journal with dates, places, conversations, and feelings. Photos, tickets, and maps also help you remember details when you sit down to write.
7. How should I structure a travel book?
Common structures include one long journey from start to finish, several trips arranged by region, or chapters built around themes such as fear, friendship, or lessons learned.
8. What about legal or safety issues when sharing real places and people?
Change names and identifying details if needed, especially for private individuals or sensitive stories. Be careful not to reveal private information that could harm someone.
9. How can I start sharing my travel stories before the book is finished?
Publish blog posts, newsletter entries, social media threads, or short articles based on single episodes. This helps you test material and build an audience that will want the book.
10. Is it better to self publish or look for a traditional publisher for a travel book?
Traditional publishing may help with distribution and credibility, especially if you have a strong platform. Self publishing gives you full control, higher royalty rates, and a faster path to readers. Choose the route that matches your goals, time, and resources.
Introduction
Travel books can do many things at once. They can tell a good story, show readers new places, and quietly teach them about people, cultures, and history. For you as a writer, a travel book is also a way to make sense of your journeys and turn scattered memories into a clear story.
Writing such a book, however, takes more than collecting diary entries. You need a clear purpose, a defined reader, a strong angle, and a structure that keeps the reader turning pages. Below are practical steps to help you plan, write, and prepare your travel book for readers.
Step 1: Define your purpose and audience
Before you think about chapters or titles, decide why this book exists and who it is for. That decision will shape everything else.
- Clarify your main purpose. For example:
- Share personal stories and reflections.
- Offer practical guidance for people visiting the same places.
- Explore culture, history, politics, or the environment in a region.
- Inspire readers to travel more, or travel differently.
- Challenge common assumptions about a country, a people, or a way of traveling.
- Entertain readers with humor, tension, or unusual situations.
- Define your audience as clearly as you can. For example:
- First time backpackers.
- Families planning long trips.
- Older travelers looking for comfort and safety.
- Readers interested in one country or region.
- Readers who may never travel, but love armchair journeys.
- Let purpose and audience guide your tone and style.
- Personal memoir style if you want to share your inner journey.
- Clear, instructive style if your focus is on tips and logistics.
- More reflective style if your aim is culture, history, or politics.
Once you are clear on why you are writing and who you are writing for, many later choices become easier.
Step 2: Choose your topic and angle
Next, you decide what part of your travel life belongs in this book and from which viewpoint you will tell it.
- Choose a topic that fits your purpose. Examples:
- One country or region.
- A continent crossed by bus, train, or bicycle.
- A long walk such as the Camino de Santiago.
- A series of journeys around one theme, such as food, faith, or rivers.
- Choose an angle that gives the story focus. Examples:
- A personal quest: healing from loss, searching for identity, testing your limits.
- A historical thread: following an old trade route or war front.
- A cultural focus: music, street food, languages, or religion.
- A social issue: migration, climate change, inequality, or tourism impact.
- Test your topic and angle against four checks:
- Relevant: It matches your purpose and the interests of your reader.
- Fresh: It offers something different from typical guidebooks or travel memoirs.
- Specific: It is narrow enough so you can cover it in detail.
- Manageable: You can research and write it with the time and resources you have.
A clear topic and angle keep your book from becoming “every trip I ever took” and help you choose what to leave out.
Step 3: Research your topic and collect material
Good travel writing feels alive because it is grounded in real detail. That detail comes from both experience and research.
- Use your own material first.
- Old diaries and notebooks.
- Photos and videos.
- Tickets, maps, and small objects you kept.
- Emails, messages, and social media posts written during the trip.
- Add background research.
- Read books and articles about the places you write about.
- Look at history, culture, politics, environment, and current events.
- Note facts, dates, and stories that can deepen your narrative.
- Talk to people.
- Recall conversations with locals and fellow travelers.
- If possible, interview people again by phone or online.
- Ask them how they saw the same events or places.
- Organize what you collect.
- Sort material by place, time, or theme.
- Keep a simple system: folders, files, or a notebook with sections.
- Note the source for any fact or quote you might want to reference later.
Good research does not replace your voice. It supports it and keeps your book honest and rich.
Step 4: Shape your structure and outline
Now you decide how the story will move on the page. A clear structure makes writing and reading simpler.
- Pick a basic structure that fits your story:
- Chronological: The journey unfolds from start to finish.
- Route-based: Each major leg of the route gets its own section.
- Place-based: Each city, village, or region becomes a chapter.
- Thematic: Chapters follow themes such as “Borders”, “Storms”, “Strangers”, “Food”.
- Draft a simple outline.
- Write a one–paragraph summary of the whole book.
- List your chapters and give each one a working title.
- Under each chapter, write a few short notes: key scenes, main people, and the message of that chapter.
- Make sure the outline has movement.
- Something should change across the book: you, your understanding, your relationships, or your beliefs.
- Mark where major turning points happen.
Your outline is a guide, not a prison. You can adjust it as the book develops, but having it will stop you from getting lost.
Step 5: Write vivid chapters
With a structure in place, you can start writing scenes and chapters that make the journey real for your reader.
- Choose a clear narrative voice.
- First person (“I”) works well for personal travel narratives.
- It lets you share thoughts, doubts, and emotions openly.
- Use both story and reflection.
- Story: what happened, where, when, with whom.
- Reflection: what you thought, felt, learned, and how the event changed you.
- Build scenes rather than summaries.
- Place the reader in a specific moment: “It was 5 a.m. at the Nairobi bus station.”
- Use sensory details: what you saw, heard, smelled, touched, or tasted.
- Show people speaking and acting. Short pieces of dialogue can bring strangers to life.
- Mix practical detail with story where needed.
- For more guide-like books, add short side notes: how you got there, cost, timing, local rules.
- Keep these clear and simple so they do not interrupt the story.
- Write in clear, simple sentences.
- Avoid long, tangled sentences.
- Prefer concrete words over abstract ones.
Step 6: Revise, edit, and proofread
Your first draft will not be your final book. The quality comes during revision.
- Take a break before revising.
- Put the draft aside for a few days or weeks.
- Come back with fresh eyes.
- First revise for structure and content.
- Does the beginning pull the reader in quickly?
- Does each chapter have a clear focus?
- Are there slow or repetitive sections that can be cut?
- Do you move smoothly between places and times?
- Then revise for clarity and style.
- Simplify complicated sentences.
- Replace vague words with specific ones.
- Remove unnecessary repetition.
- Check that your voice sounds natural and consistent.
- Finally, edit for language and details.
- Check spelling, grammar, and punctuation.
- Confirm names of places, dates, and basic facts.
- Watch for overused words or phrases.
- Get outside feedback if possible.
- Ask a trusted friend, fellow writer, or editor to read part or all of the manuscript.
- Ask what felt strong, what was confusing, and where they lost interest.
Step 7: Decide how you will publish your travel book
With a solid manuscript, you can think about how you want the book to reach readers.
- Choose between self-publishing and traditional publishing.
- Self-publishing gives you more control and faster release.
- Traditional publishing may offer more support, but it is selective and slower.
- Consider the format.
- Print book, eBook, or both.
- For travel books, photos and maps can be valuable. Plan where they fit and how they will print or display.
- Prepare your manuscript for publication.
- Format it clearly.
- Add a strong title and subtitle.
- Write back cover text that explains why someone should read this book.
If you aim for a traditional publisher, you may also need a book proposal and sample chapters.
Step 8: Share and promote your travel book
Writing the book is one part of the journey. Helping it find readers is the next.
- Start with your own circles.
- Friends, family, colleagues, and online communities.
- Share short excerpts and stories that link to the book.
- Use digital platforms wisely.
- A simple author website or blog.
- Social media, used with clear intention, not noise.
- Guest posts, podcast interviews, or talks where travel stories fit the audience.
- Build slowly and steadily.
- Focus on genuine connection rather than quick tricks.
- Answer readers who reach out.
Conclusion
Writing a travel book is another kind of journey. You begin with a desire to share your adventures, then pass through planning, research, drafting, revision, and finally publication.
If you define a clear purpose, choose a strong angle, do your research, tell vivid stories, and take time to revise, you can create a book that carries readers with you from the first page to the last. Your trips will then live not only in your memory, but also in the minds and hearts of people you may never meet, in places you may never visit.

